
Garage Floor Coating: Plan the Steps, Wall Edges and Threshold
When you picture a new garage floor, the large open area usually gets the attention. The steps into the house, the short concrete wall around the perimeter, and the strip beneath the garage door deserve a plan, too. These details affect what is included in the work and how the finished space looks.
Before approving a garage floor coating estimate, walk around the room and identify where you want the finish to start and stop. A few photos and a clearly written scope can prevent different expectations on installation day.
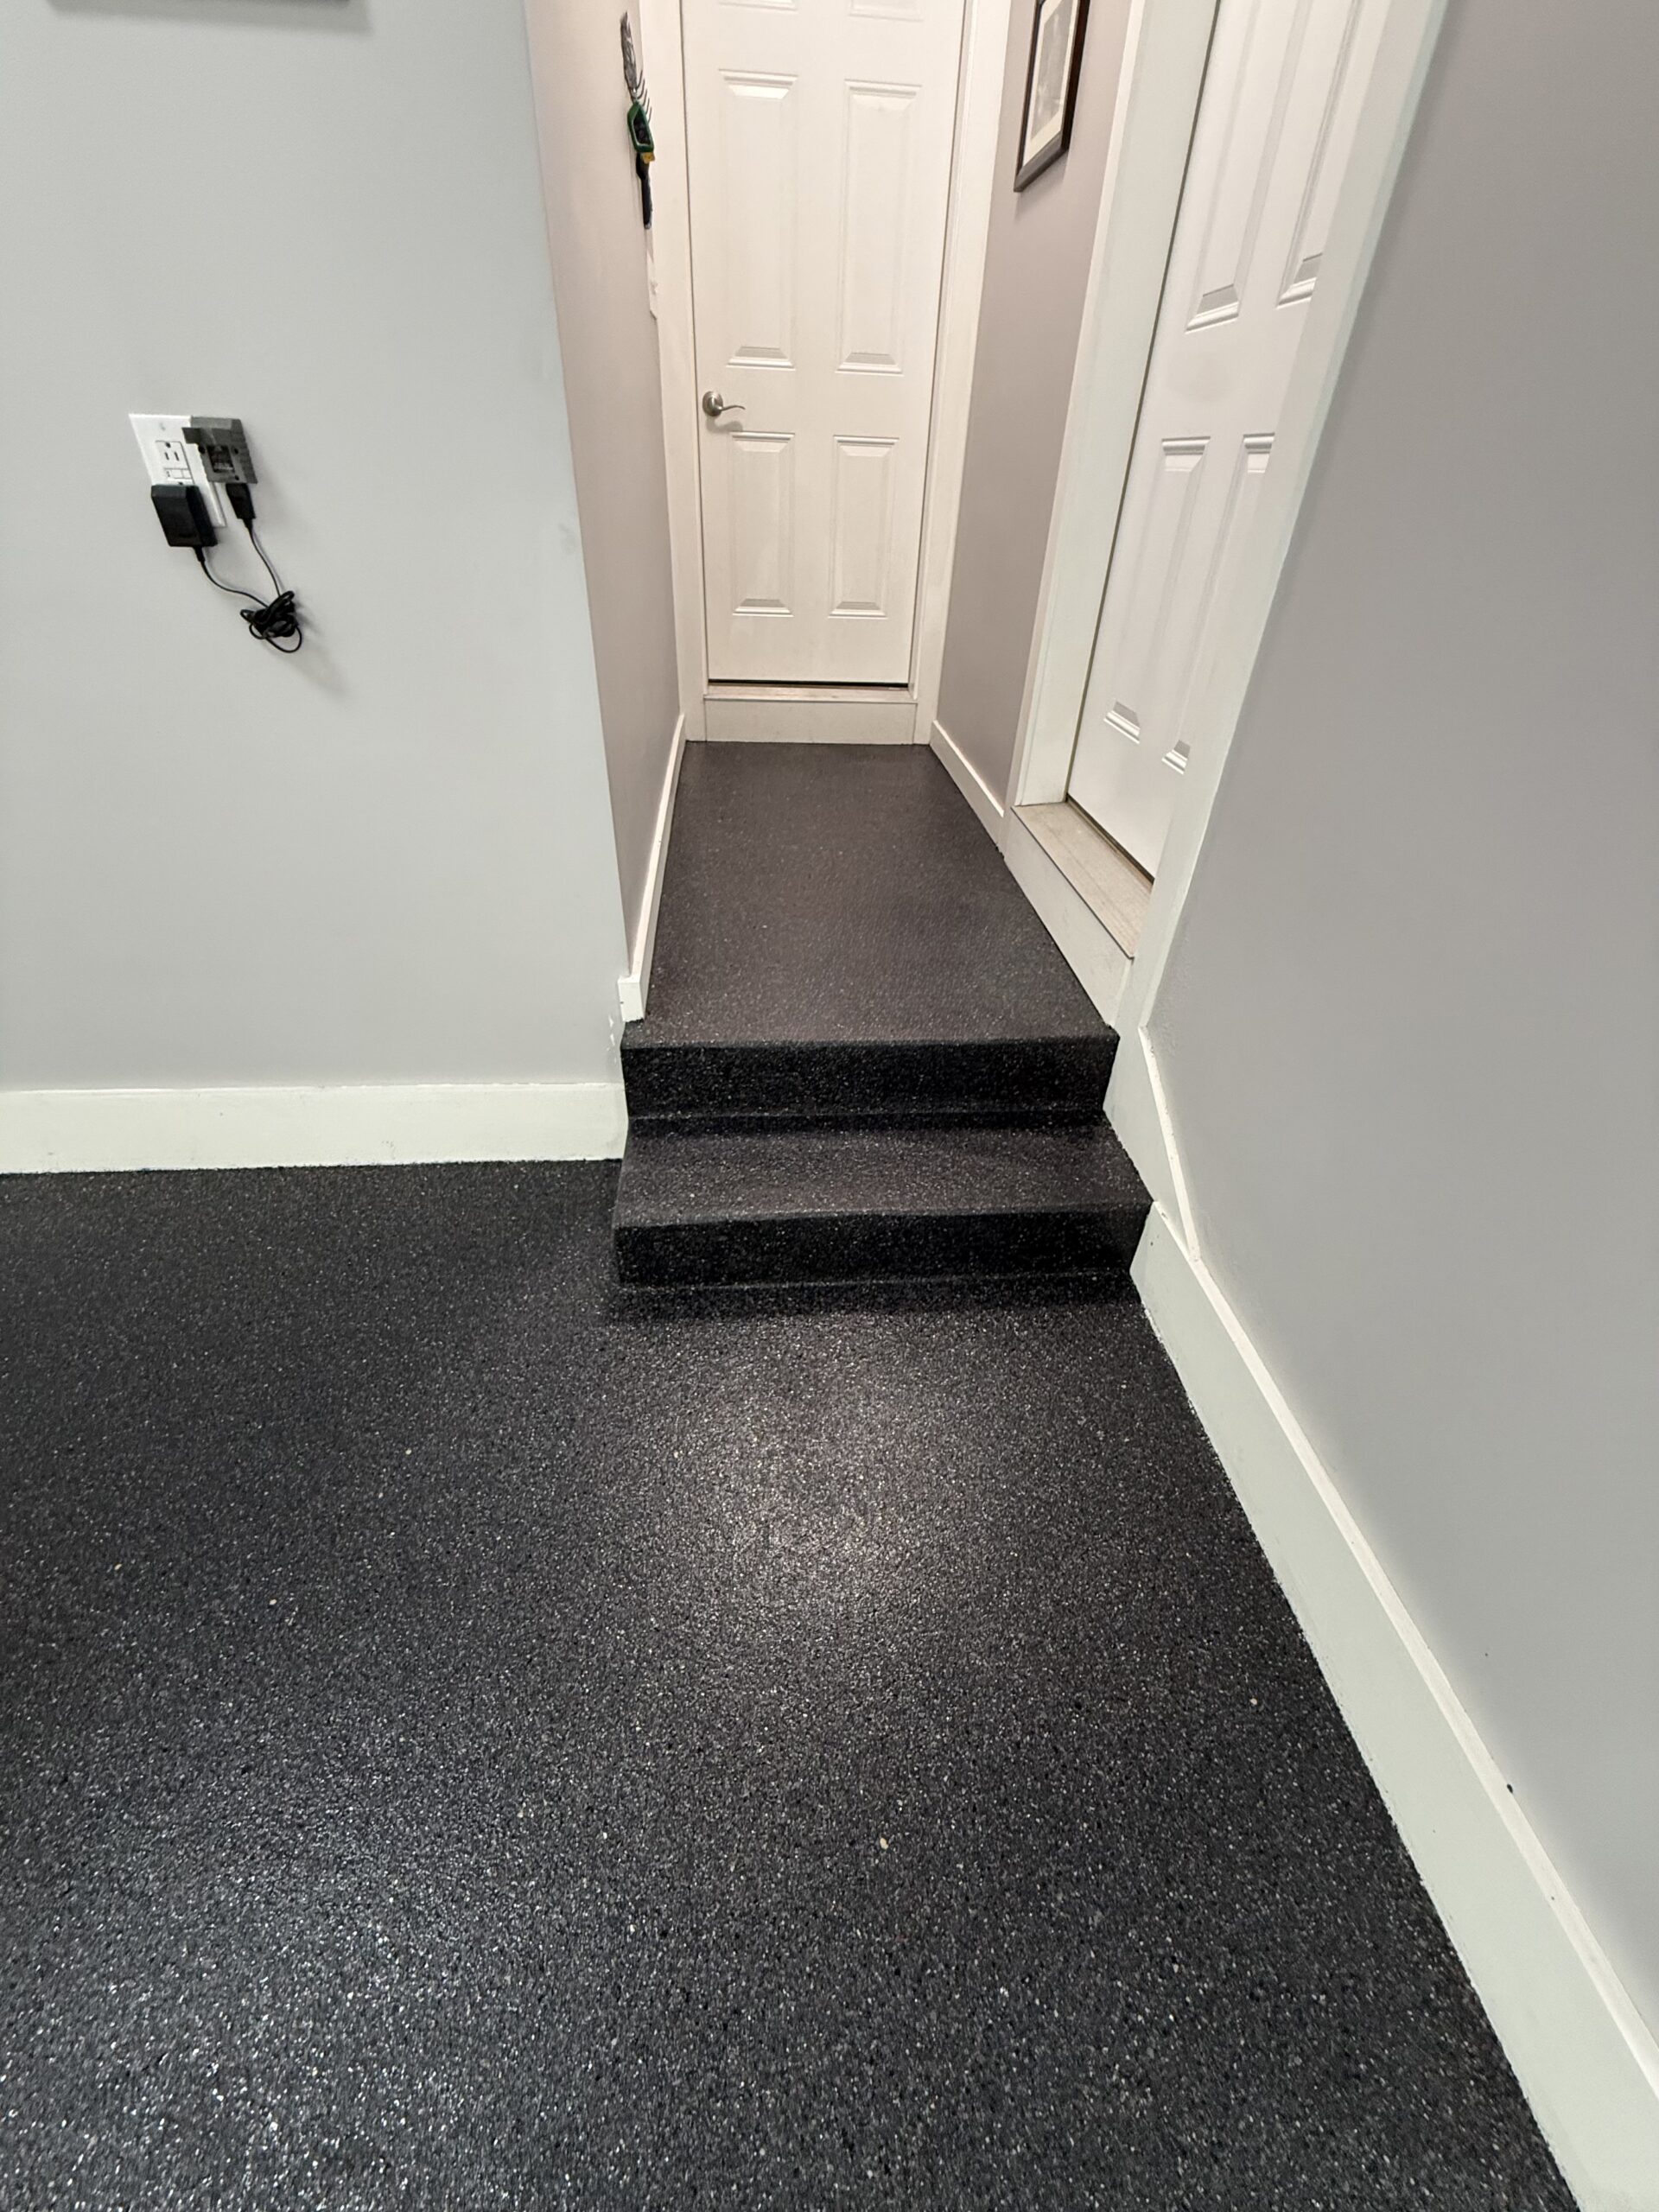
List every surface you want included
A garage measurement does not explain all of its surfaces. Separate the main floor from step treads, step risers, landings and exposed concrete wall edges. Treads are the horizontal parts you stand on; risers are the vertical faces between them. If a step has exposed sides, identify those as well.
Ask the estimate to name the included areas rather than relying on a phrase such as “complete garage.” A useful description might say that the floor and two concrete steps are included while the painted wall remains unchanged. That is a scope example, not a standard inclusion or price.
Decide how the wall edge should look
Some garages have a short exposed concrete or masonry section below the finished wall. You may want it coordinated with the floor, left painted, or handled separately. Photograph its full height and any peeling paint or rough areas so the installer can evaluate it.
Do not assume that a finish proposed for the horizontal floor automatically covers every vertical surface. Ask what preparation and finishing approach is proposed for each material. Also identify trim, door casings and built-in cabinets that stay in place so everyone agrees on the stopping lines.
Discuss the doorway and outside edge
Point out where the garage door closes and where the slab meets the driveway. Decide which visible strip, if any, belongs in the coating scope. An outside apron should be discussed as its own area rather than added casually to an indoor floor plan.
Show the installer any places where water collects or runs toward the doorway. Ask how existing joints and transitions will be handled. A decorative finish should not be treated as a promise to correct drainage, change the slope or eliminate slab movement.
Choose step details as carefully as color
A matching blend can create a coordinated appearance, but appearance is only one decision. Discuss the expected surface texture, cleaning needs, lighting and visibility of the step edges. If distinguishing the edge is important for your household, raise that before choosing the final design.
Use the flake color catalog to make a shortlist, then ask to compare a physical sample. A photograph or small swatch cannot establish how a finished step will feel underfoot. Tell the installer how the stairs are used and whether shoes regularly bring in water.
Plan access while the work is underway
If these steps are your usual route into the house, arrange another entrance before work starts. Ask for separate guidance on when the floor and steps can be walked on, when storage can return, and when vehicles can park. Do not assume that the end of installation means every area is ready for every use.
Before scheduling, confirm four things in writing: the surfaces included, the stopping lines, the finish details, and the return-to-use instructions. Those answers help you compare estimates on the same scope.
Planning a garage project in Southern West Virginia or our Southwest Virginia service area? Request a free estimate from Epoxy King. Include your town, approximate floor size, and photos of the steps, wall edges and doorway so we can discuss the details with you.